|
This is the Sawmill New Users page.
If you are new to Sawmill, this is where you start. This startup guide will walk you through your initial startup of Sawmill and help you create your first profile.
Welcome to Sawmill
Once you have downloaded and installed Sawmill, then you are ready to setup your username and passwords, create your profile, select your log file formats and view your first reports.
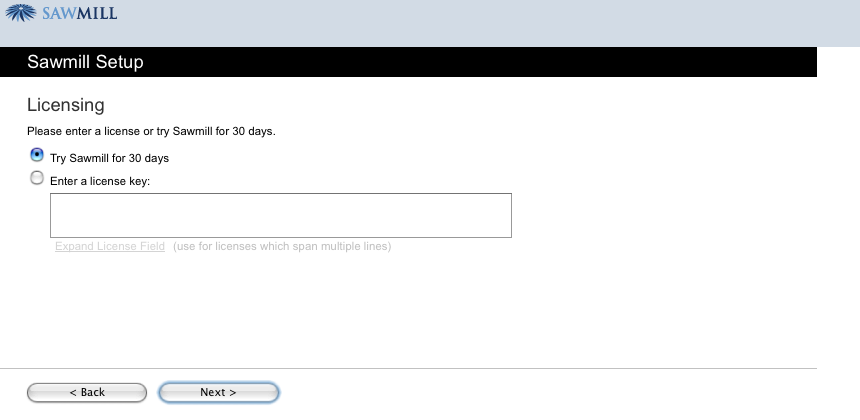
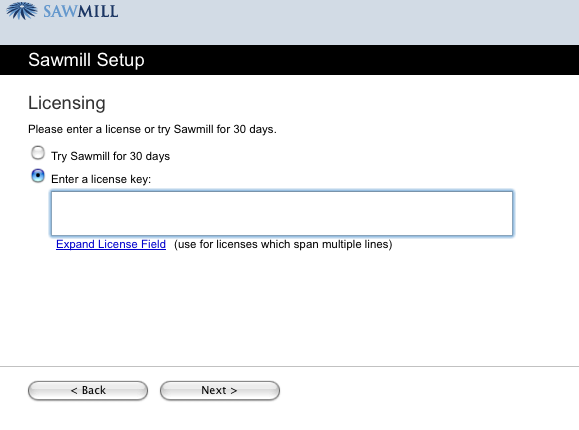
The first step will be to start Sawmill, and follow the steps for accepting the end-user license agreement, and use it in trial mode, or enter a license key.
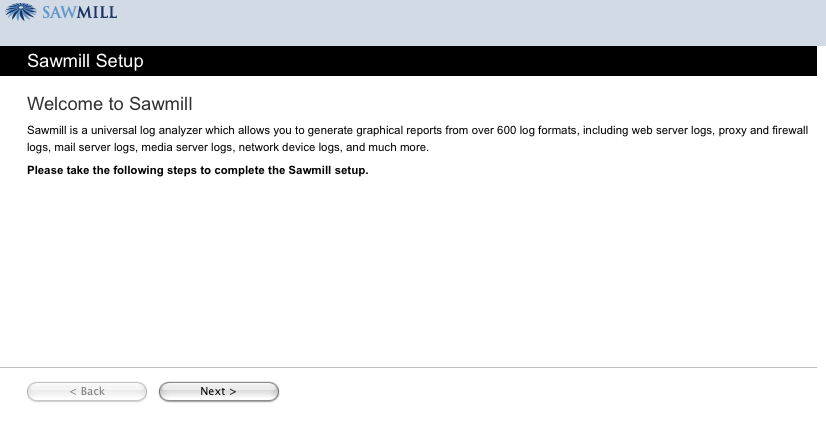
The Welcome screen is the first screen in the setup, with a brief description of Sawmill, your only option is to select the Next button.
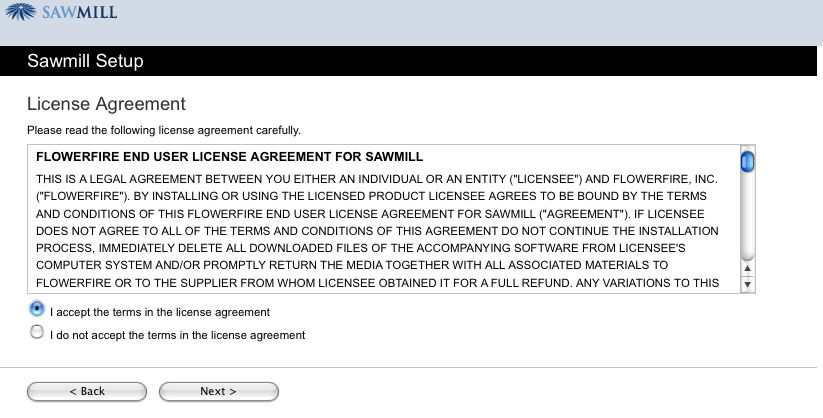
The License agreement part of the setup allows you to review our license agreement and accept it or reject it. In order to continue with your setup, you will need to accept the terms. If you don't, then please contact our customer support.
When you use Sawmill, you can use the product free for a 30 day trial period, or if you have a license key, you will enter it now.
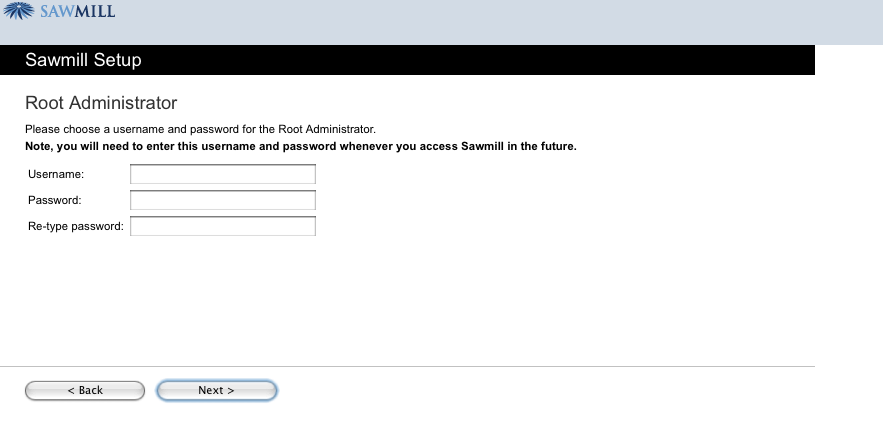
You will be asked to enter a name and password for the Root Administrator, this is the main administrator for Sawmill, and this login will allow you to setup future usernames and passwords, and also a set of rules based on their roles. There is more about setting up roles and rules in the RBAC section.
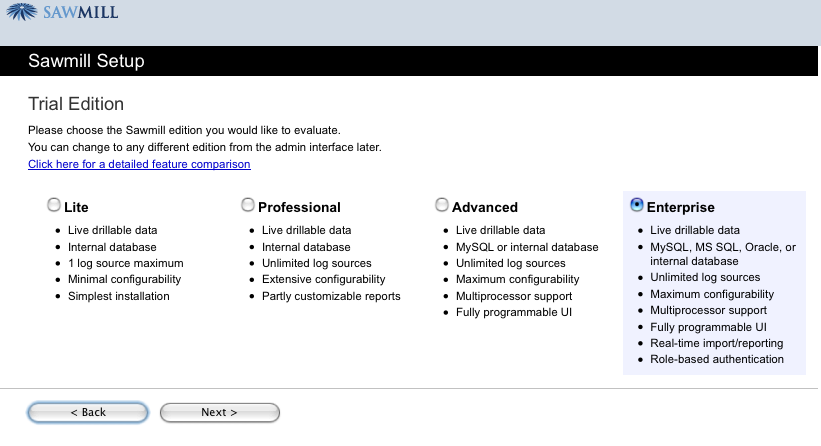
When you select a trial version, you have the ability of using any version of Sawmill that you wish, in this instance, the Enterprise version has been selected.
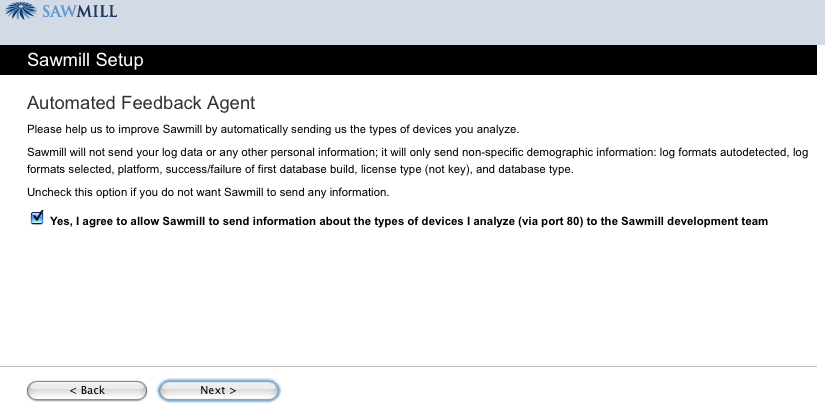
Once you select your version of Sawmill, you have the option of signing up for our automated feedback agent. It will send non-specific demographic information to the development group. It only sends the log formats autodetected, platforms, the log formats selected and whether you were successful or not with your first database build.
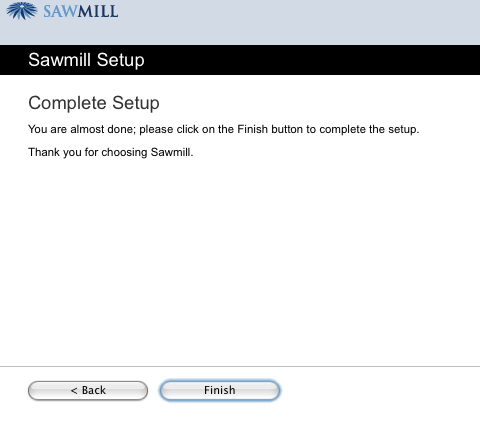
Once you select or deselect the automated agent, then you ready to select the Finish button.
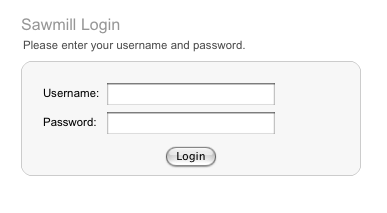
Then you will see the login screen, where you will enter your username and password.
Once you have logged in, then you will create your first profile, using the Profile Wizard.
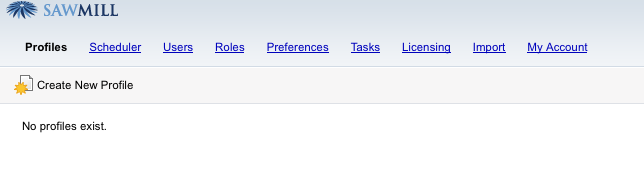
Select Create New Profile and then there will be a new window that opens and you will step through the wizard.
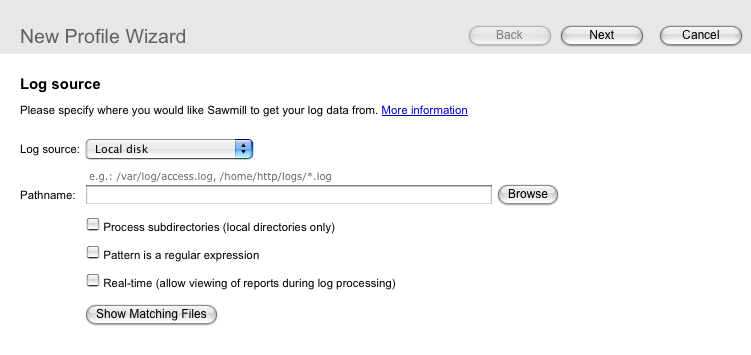
In the profile wizard, you will select the location of your log source, along with the pathname to that source.
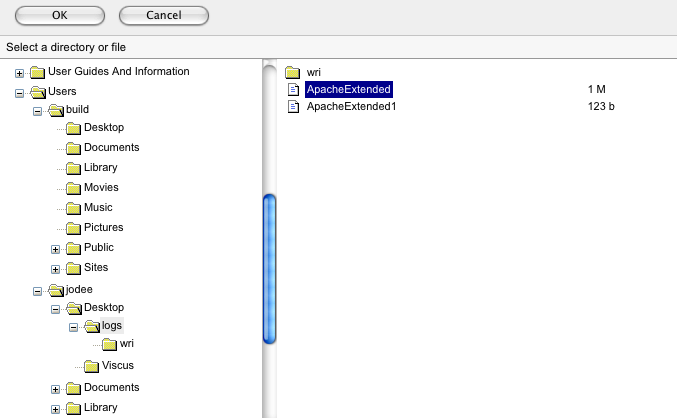
Once you have found your log files, select them and click the OK button on the top of the menu.
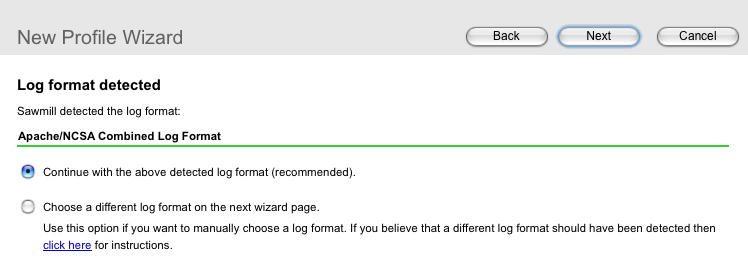
The log format will be detected and named by Sawmill and then you will have the choice of continuing with that format or choosing a different source.
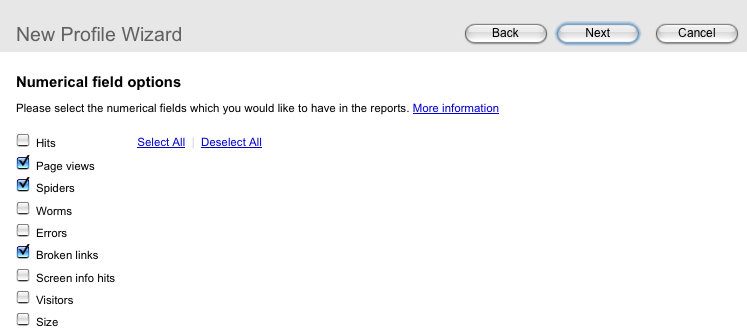
The next step in the profile wizard is to select the fields you want in your reports. As shown, is the default setting, but you can select as many fields as you wish.
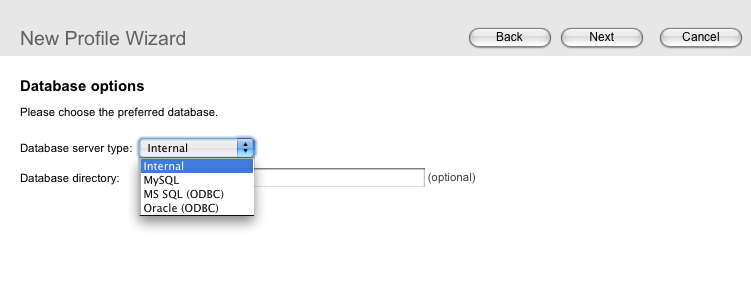
Once your profile is set, then you can decide what type of database server you will use, select the type from the drop down menu.
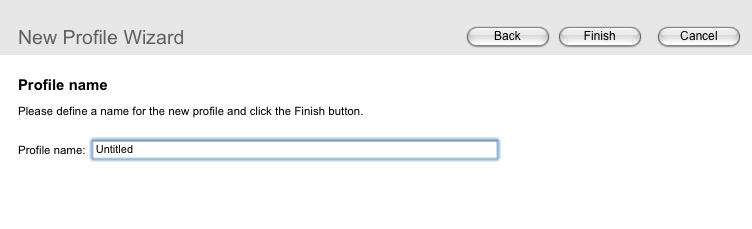
The final step is to name your profile and select the Finish button.
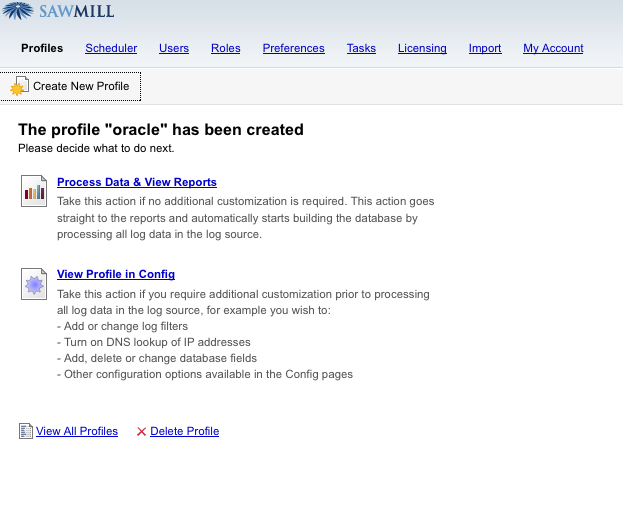
Once the profile is done, then you have the option of processing the data and viewing the reports. You can also view your profile, and do further customization, before viewing the reports. If you select the option to view the reports, Sawmill will build your database and show you the summary report.
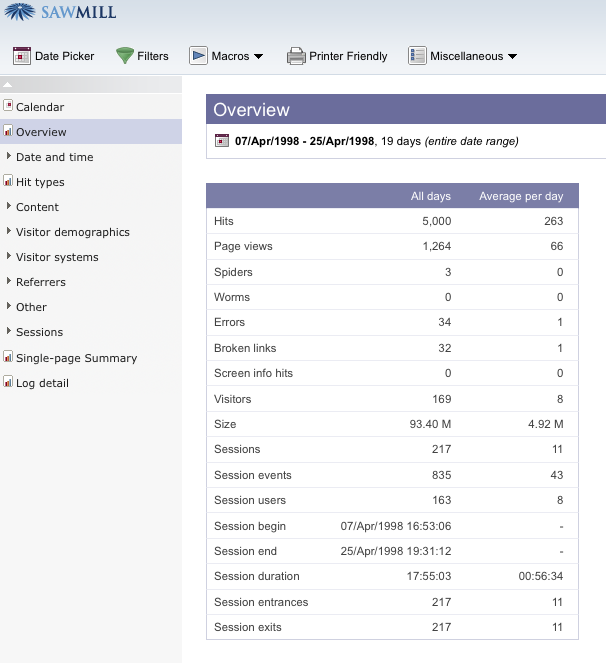
The very first report is the Overview Report, it's a single page report, and it shows a summary of the fields that you have selected.
You have created your first profile, and your first report. The User Guide will step through the menu items, and how you can create customized reports.
|